• Home
  • About Tracy
  • Contact Me

Using Time Wisely

Organized to save money, energy, and time

  • Email
  • Facebook
  • Pinterest
  • RSS
  • Twitter
  • YouTube
  • Document Organization
    • Overview
    • Box 1
      • Credit Report/Cards
        • Credit Reports
          • Credit Updates
          • Credit Scores
        • Credit Cards
      • Personal
      • Home Ownership
      • Vehicles
    • Box 2
      • Life Insurance
      • Major Medical
      • Tax-Favored Programs
      • Prescriptions
      • Dental & Vision
      • Special Health Policies
      • Short-term Disability
      • Long-term Disability
      • Personal Insurance
    • Box 3
      • Social Security Documents
      • Retirement
      • Investments
      • Estate Planning
      • Tax Records
  • Household
    • Cleaning
    • Maintaining
    • Organizing
    • Scheduling
      • Laundry
  • Event Planning
    • Assisting
    • Attending
    • Coordinating
      • Birthday Party
      • Christmas
      • Dinner Party
      • Fall Festival
      • Field Trip
      • Lemonade Stand
      • Thanksgiving
    • Learning
    • Preparing
    • Serving
  • Miscellaneous
    • Communication
      • Customer Service
      • E-mail
      • RSS Feed Reader
    • Goals
    • Organization
    • Time Management
      • To Do List
  • Food
    • Food Prep
    • Grocery Shopping
      • Lists
      • Pricing
    • Menu Planning
    • Recipes
    • Stockpile
  • Family Activities
    • Going Out
      • Free Outings
      • Inexpensive Outings
      • Summer
    • Rewards
      • Good Grades
      • Reading
      • Summer Reading
    • Staying at Home
  • Stretching Your Dollars
    • Daily Deals
      • Groupon
      • LivingSocial
    • Drugstores
      • CVS
    • Gas Prices
    • Gifts
    • On-line Shopping
    • Pictures
    • Products
    • Restaurants
    • School Items
    • Tips
You are here: Home / Archives for Household / Cleaning

Cleaning: Bissell PowerSteamer PowerBrush Deep Cleaner

September 12, 2011 by Tracy

Photograph Credit: Wal-mart

Most people would request a new gadget, clothing item, or service for their birthday present. Since I am far from “most people,” you might be surprised to learn that my birthday wish was a carpet cleaner. Yes, I really wanted a cleaning helper for my carpets.

With baby one and baby two, I was able to keep up with the messes they made. I would use Resolve Carpet Cleaner on the spots, and keep my carpets nice and clean. With baby three, my schedule is much busier. If I can stay on top of the laundry and meals, then I had a successful day.

The little messes on the carpet are no longer a high priority. By the time I vacuum the floors, the spots are too much for hand scrubbing. I would be exerting lots of energy and spending precious time cleaning.

Dining Room Floor - Before using the Carpet Cleaner

Desiring to have a clean, organized home and balancing home life, family activities, and blogging, I needed some added assistance with the carpets. Though hiring a carpet cleaning service would have solved the immediate issue, I still would need to keep up the spot cleaning.

In looking for a more permanent solution, I found this Bissell PowerSteamer PowerBrush Deep Cleaner for carpets at www.walmart.com for $125. Paul and I compared some other carpet cleaners, and this model had the options we deemed necessary for our household.

With my birthday around the corner, Paul purchased this steam cleaner. We used it the weekend after it arrived, and my carpets sparkled (if that’s possible). I have been thrilled with this carpet cleaner!
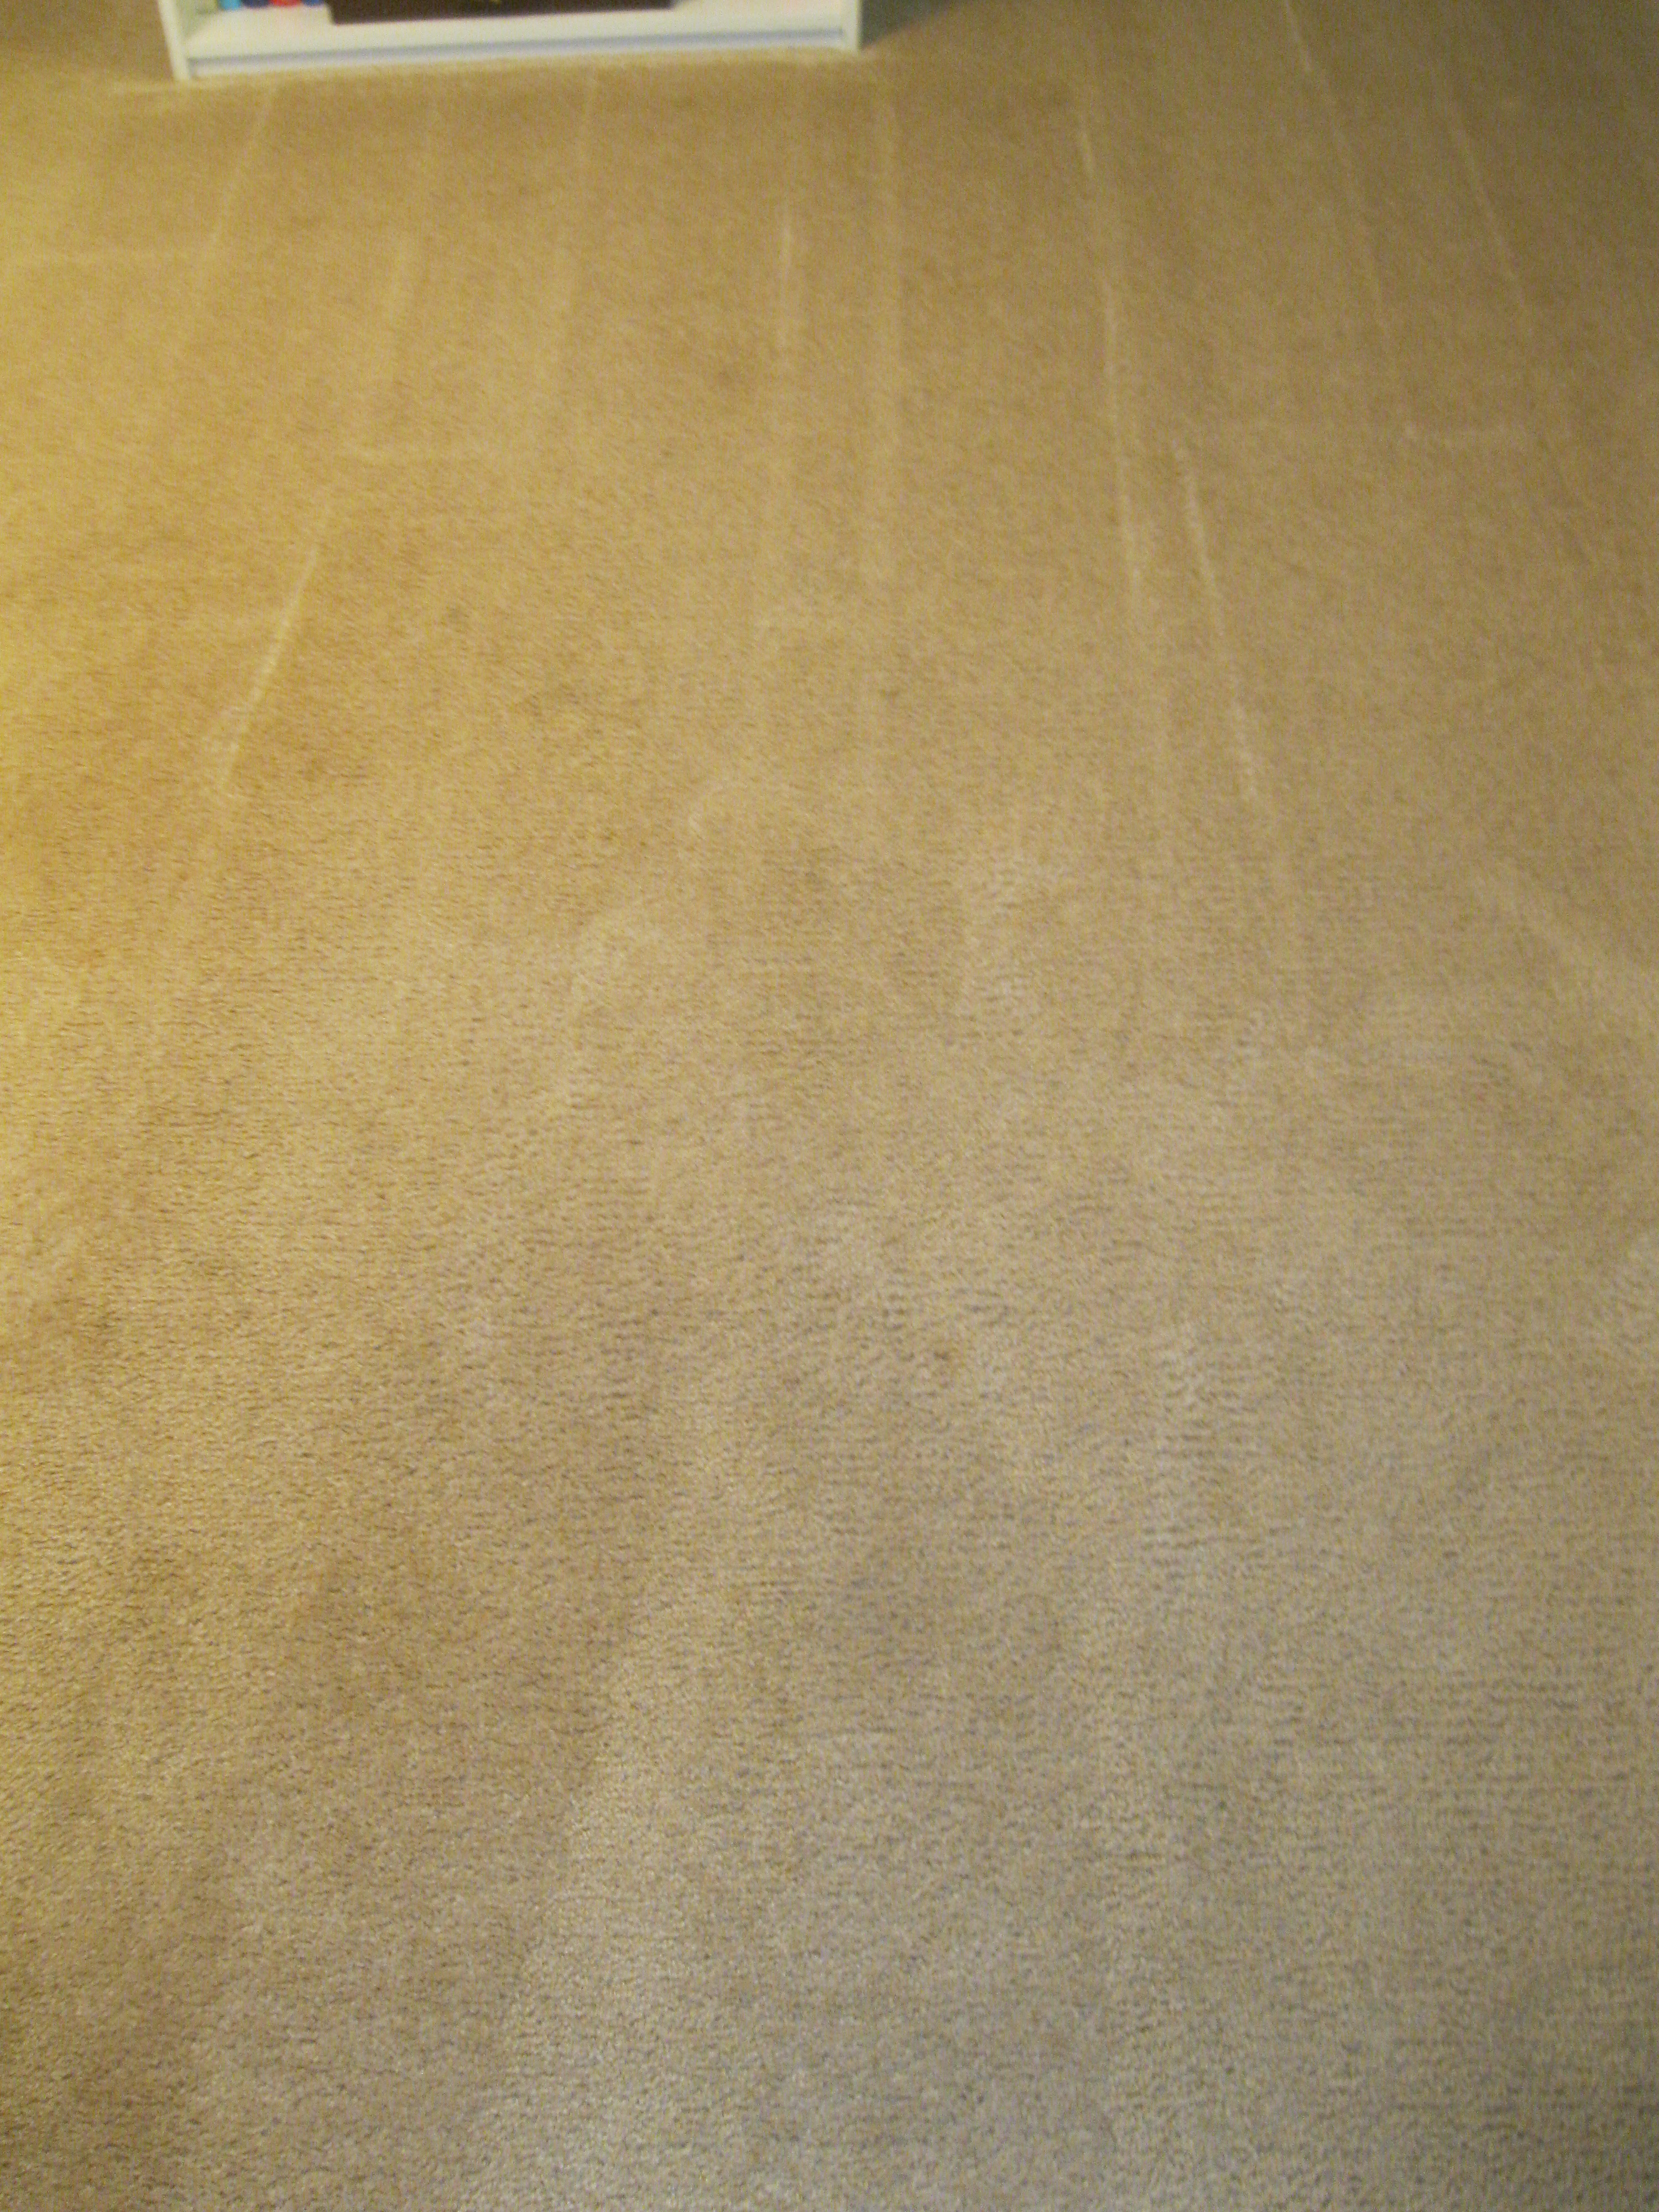
Dining Room Floor - After using the Carpet Cleaner

Favorite Options

1. The Settings. This model offers normal, heavy traffic, and water rinse settings. On the first pass, Paul used the normal setting which brought up dirt, dust, and hair. After allowing the floor to dry, he then water rinsed the area to remove all the cleaning solution. The heavy traffic setting was needed on our hallway to bring the carpet back to its “normal” color. 🙂

2. The 2 in 1 Tank. Having used another carpet cleaner where the solution and water were mixed in the same container, I really like how this cleaner keeps the solution separate. The solution does not need to be refilled when the water is replaced. Having the solution in a separate compartment stretches the solution which saves money.

3. Attachment for Stairs. With little spots from sippy cups, drool, and super-saturated diapers on my stairs, I really like this attachment. Though we have not used it yet, I am thrilled to have this option. Most of the other carpet cleaners, within our price range, did not offer this attachment.

4. 25’ Cord Length. Some of the other models had shorter lengths. With the longer cord, I can complete an entire room without having to change outlets.

5. Deep Clean. This cleaner pulled up so much dirt. You could see the difference immediately. I love having clean carpets!

Possible Drawbacks

1. Type of Carpet Cleaner. Though the title is a PowerSteam, this cleaner is NOT a steam cleaner. The machine does not heat the water like a steam cleaner instead hot water, added to the container, cleans the carpet. To get the carpets clean, you need to add the hot water and then clean immediately. This option works fine for our family. We only have fish for pets, so most of my spots are food or liquids.

2. The Weight. This cleaner is heavy. It weighs over 20 lbs. The pushing and pulling to clean a large area is a lot of work. Paul was sore after cleaning all the downstairs’ carpets in one weekend. However, if you space out the cleaning, then the weight may be more tolerable.

3. Hard Floor Scrubber. My model will clean hard floors, but the attachment must be purchased separately. I have limited hard floors, so I do not need this attachment.

For me, this Bissell carpet cleaner has been a blessing! I can do a surface cleaning of a spill and wait to use the Bissell carpet cleaner at a later time. Though this model may not work for others, I have been thrilled with my birthday present resulting in clean carpets. Thanks, Babe!

Question: What is on your birthday list? Please add your answer in the comments.
Filed Under: Cleaning, Household Tagged With: Deep cleaning

Cleaning: Microwave Oven

September 26, 2011 by Tracy

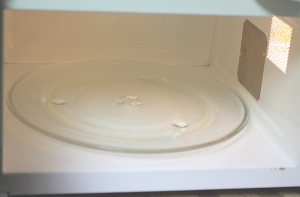
Photograph Credit: Flickr (Bella)

Keeping the microwave oven wiped down and clean is an on-going task. Knowing that 1 minute now saves 5 minutes later, I try to keep messes at bay by wiping up messes before they dry.

Though I am not the only one who uses the microwave in my home, I do, on occasion, choose to leave a mess. There are times when soothing a hurt finger or changing a diaper takes precedence over cleaning the microwave. 🙂

When I find a baked-on mess, here’s my simple solution:

1. Take a glass measuring cup and add about 2 cups of water.

2. Place the measuring cup with water into the microwave.

3. Zap the water for 5 minutes on high.

4. At the end of 5 minutes, allow the water to remain in the microwave for an additional 2 minutes.

5. Carefully, remove the hot measuring cup.

6. Using a sponge or rag, wipe down the microwave.

In using time wisely, I can put on the water while wiping down the counters and loading the dishwasher. This cleaning method not only results in a clean microwave, but it also saves me money (no cleaning solutions), energy (no scrubbing), and time (just wiping out the mess without working at it). If your microwave needs a cleaning, try heating water and wiping away the mess. The results are worth it. Happy cleaning!

Question: What is your best tip for cleaning the microwave oven? Please add your answer to the comments.

Filed Under: Cleaning, Household Tagged With: cleaning

Purging, Cleaning & Organizing: Warranty File

January 9, 2012 by Tracy

After sorting through all the paperwork from all the new electronics, gadgets, and toys, I went to add the documents to our warranty file, housed in a two-drawer filing cabinet. When I opened the bottom drawer, I found the file stuffed and in need of purging, cleaning, and organizing. Oh, my!

Seriously . . . it was a mess.

In case you are wondering about this file, the outside is usually covered with magnets which my girls enjoy putting on and taking off while I work at my desk. See the little finger prints all over the outside. 🙂 But inside, it holds all the documentation and receipts from purchases that carry a guarantee.

In using manila file folders, I label each folder with the type of documentation, e.g., phones, tools, appliances, furniture, etc. Over time, we replace items, donate, trash, or use the items.

Periodically, this file needs purging of obsolete items to keep the folder contents current. I think my “periodically”  extended a few years on this file because I found expiration dates from 2004.

I told you it was a mess.

In working on this project, I spent about 2 hours from purging to cleanup with a wonderful result.

Purging the Drawer

1. Gathered my supplies. After deciding to purge this file, I got the new documents, a pen, and manila file folders.

2. Purged each file. Removed one folder at a time and reviewed the contents. When I found paperwork for items we no longer have, I placed them in a trash pile (bottom right pile in picture below). The documents for items we are using were kept in the file.

3. Emptied the entire drawer. Taking out one file at a time, I worked through each file until the drawer was empty.

Cleaning the Drawer

1. Dusted the file drawer

2. Removed shreds of paper

3. Wiped the drawer clean

Organizing the Drawer

1. Arranged the file folders. In keeping this file divided into three sections, I placed each file folder into one of these three piles:

a. Structure of the house – windows, roof, shower units, etc.

b. Décor of the house – paint, ceiling fans, lighting, etc.

c. Products of the house – electronics, toys, jewelry, etc.

2. Combined file folder content. When I found similar products, I joined them into one category. For example, I placed the files for the lawnmower, edger, and weed whacker into one lawn equipment file folder.

3. Labeled each file folder. In keeping it simple, I wrote the category name on the label of the file folder. As I need items from this file, I can read the labels to quickly find the folder I need.

4. Returned folders to cabinet. With the sections organized and labeled, I placed them back into the filing cabinet. I used hanging file folders to divide the file folders into sections.


Cleaning Up

1. Trashed the unused file folders

2. Placed the outdated warranty pile in the To Be Shred box

3. Put away the pen and extra file folders

Instead of an overflowing heap of papers, I can open this drawer and find the document I need – with room to spare. In using time wisely for about 2 hours, I purged, cleaned, and organized my warranty file. For me, this was time well-spent.

As you find outdated systems, like overflowing paperwork, schedule time to purge, clean, and organize. Using time wisely can get you from “Oh, My!” to “Oh, yes!” Happy organizing!

Question: Where do you keep your warranty paperwork? Please add your answer to the comments.

Filed Under: Cleaning, Household, Organizing Tagged With: organizing, purging, cleaning

Cleaning: Ceiling Fans

February 6, 2012 by Tracy

As I continue to work through my home room by room, I clean from top to bottom and from left to right. In each room, I start with the lighting fixture and/or the ceiling fan.

With my 5’4” stature, I often use a chair or step stool to reach the fans and lights. This method allows me to reach all the surfaces. For the most part, this system keeps my home clean. But once or twice a year, I work through my home giving it a deep clean.

The deep clean requires getting above the blades to see what dirt and dust needs removal. Most of the rooms have small amounts of dust build-up. The one fan that accumulates lots of dirt and grime is the kitchen fan. Located near the stove and oven, the fan collects grime due to the settling condensation on the blades mixing with the daily dust.

As I worked around my kitchen, I spent a good 30 minutes wiping down each fan blade and light globe. The result was a clean fan and a filthy floor.

But in working from top to bottom, I only need to clean each item once. The floor is the last item cleaned in each room.

In using time wisely, I rose above the fan, examined the situation, and the cleaned off the grime. Though it would have been easy to overlook the dirt-covered blades on the fans, I chose to rid my house of the clutter, dust, dirt, and grime.

Cleaning the ceiling fans thoroughly keeps our home clean. By completing the deep cleaning twice a year, I save energy and time for the next six months by dusting the surfaces. As you schedule your cleaning, consider deep cleaning occasionally while keeping your surfaces clean. Happy cleaning!

Question: How often do you clean your ceiling fans? Please add your answer to the comments.

Filed Under: Cleaning, Household Tagged With: household

Spring Cleaning: Removing Black Marks from a White Kitchen Sink

April 9, 2012 by Tracy

Spring has sprung! With new organized spaces after completing Project Simplify Week 1, Week 2, Week 3, and Week 4, I need to clean some key areas of my home.

Welcoming the cool breeze by opening our windows, I get motivated to spring clean. During this time, I like concentrating on specific areas that get used often, but not cleaned often enough. The first area needing some tender loving care elbow grease is my kitchen sink.

Kitchen Sink Marks

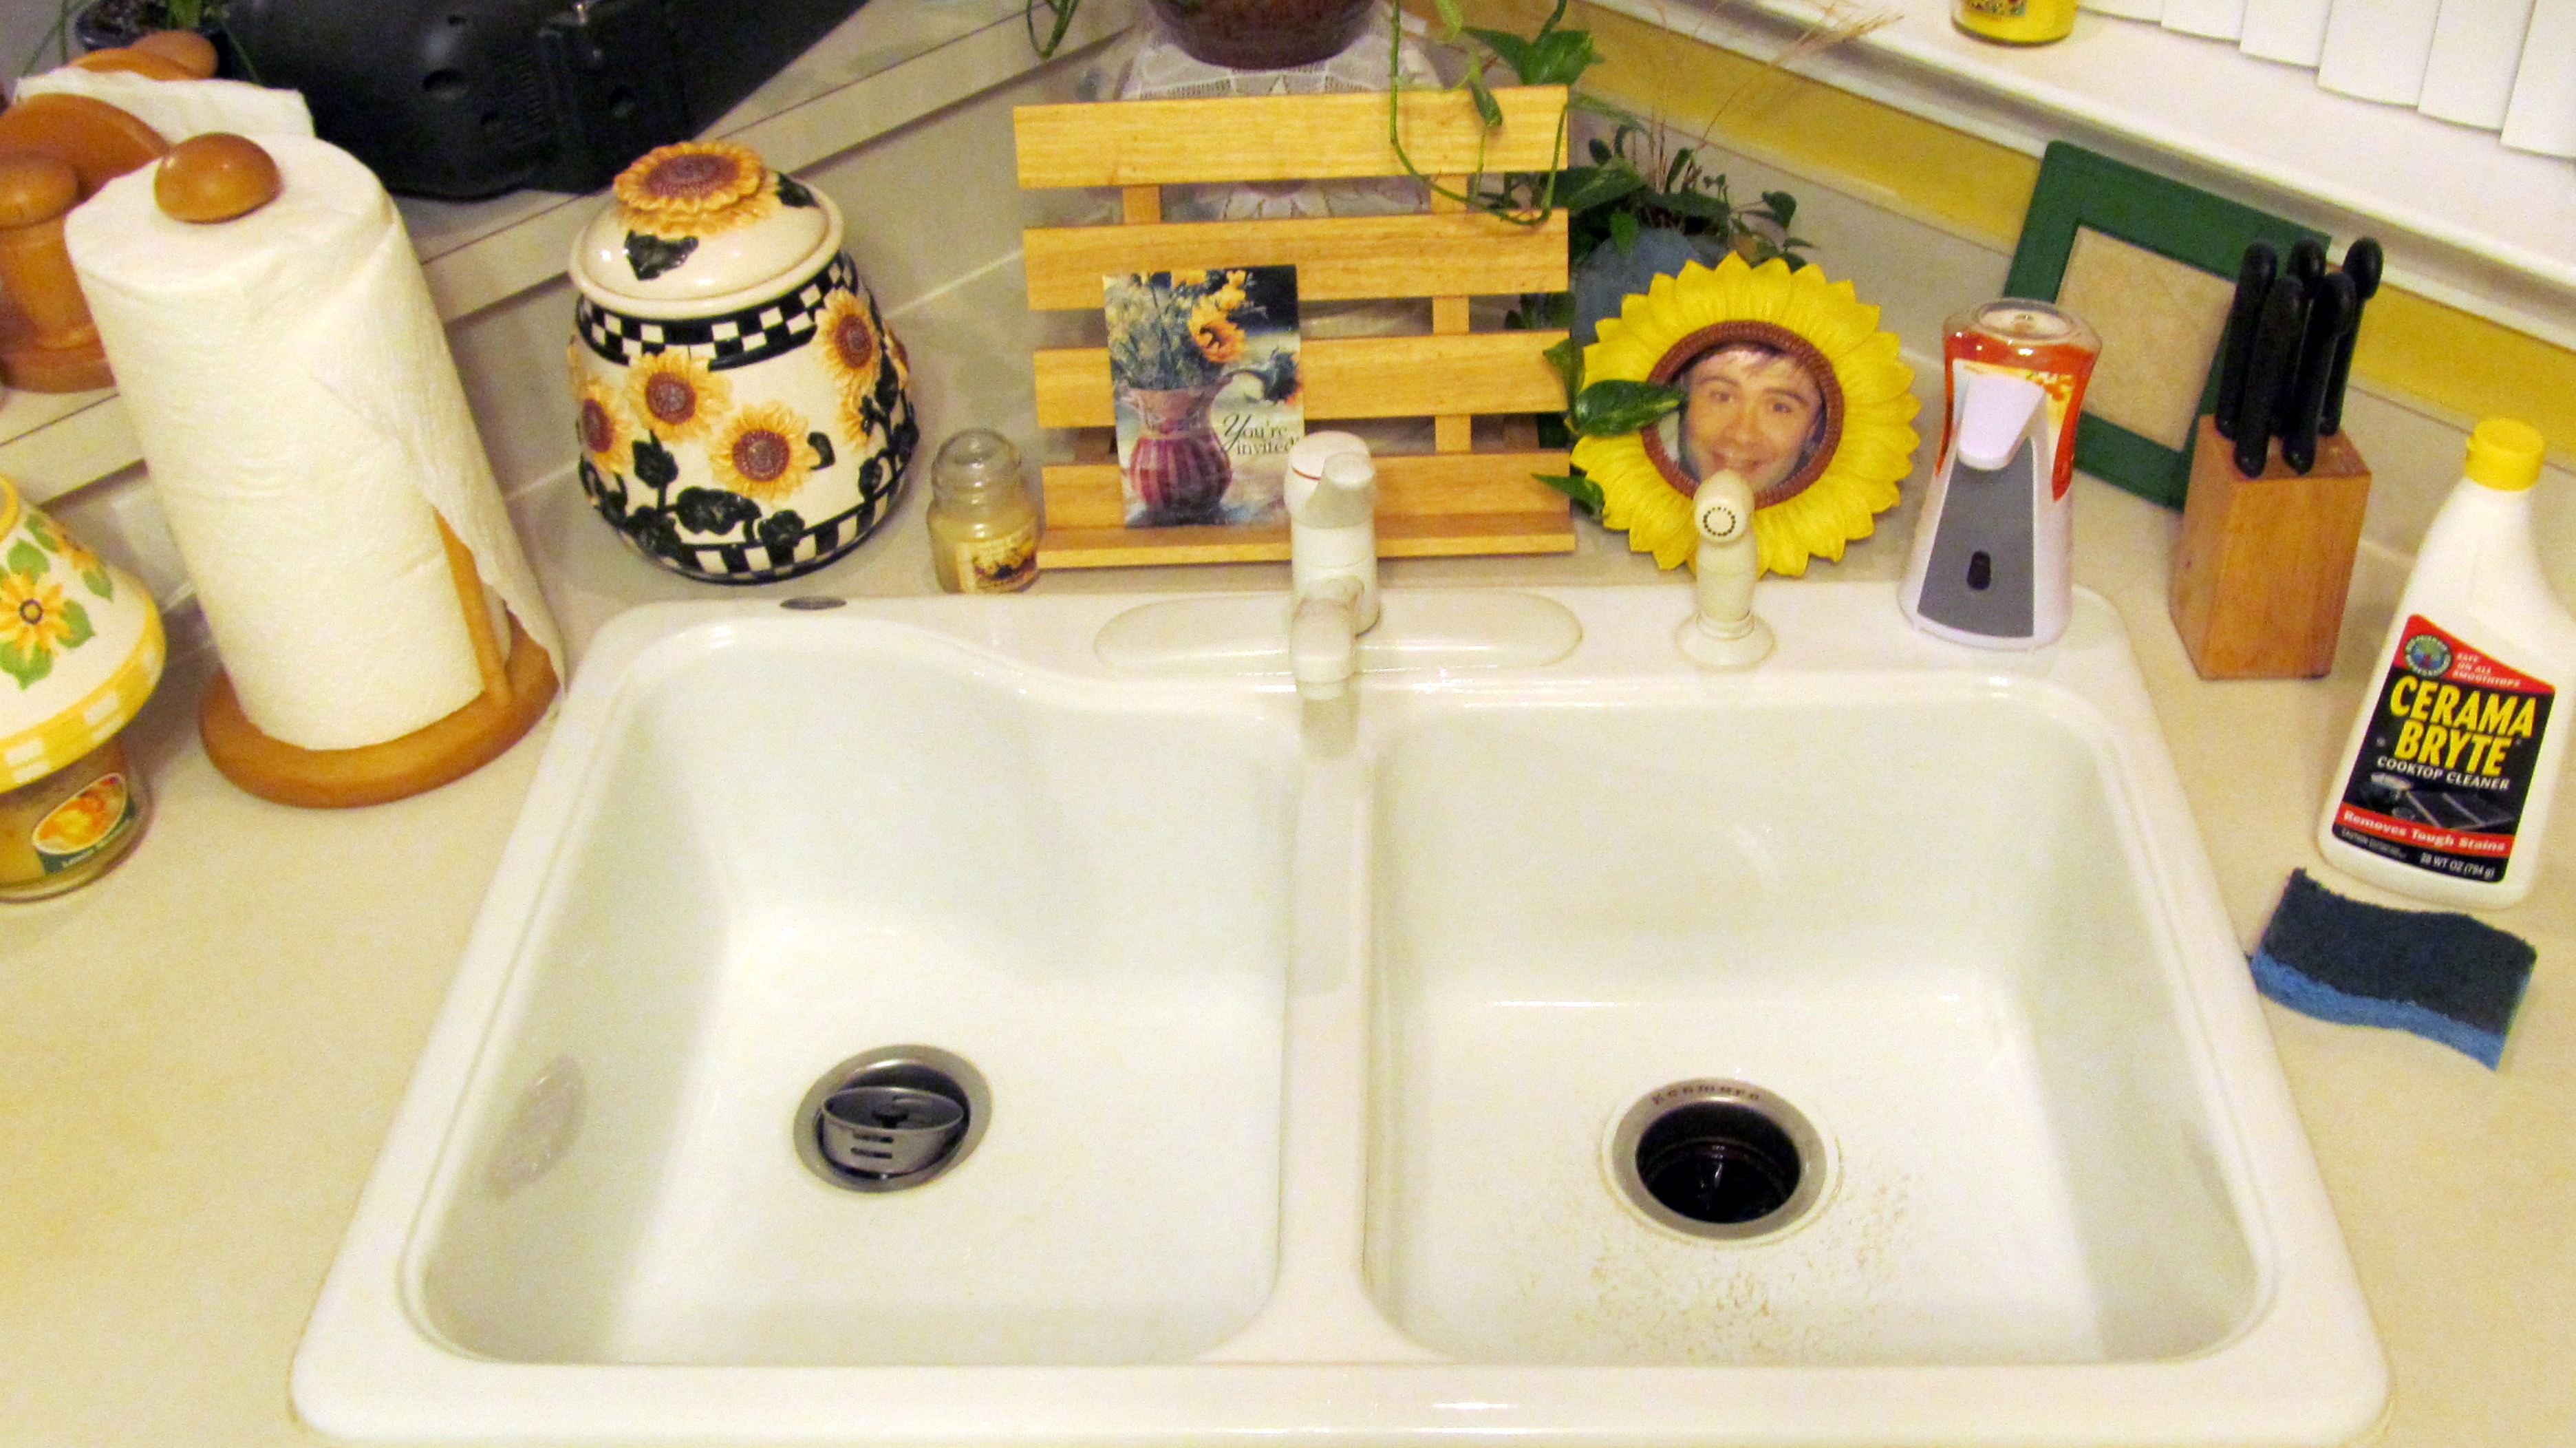
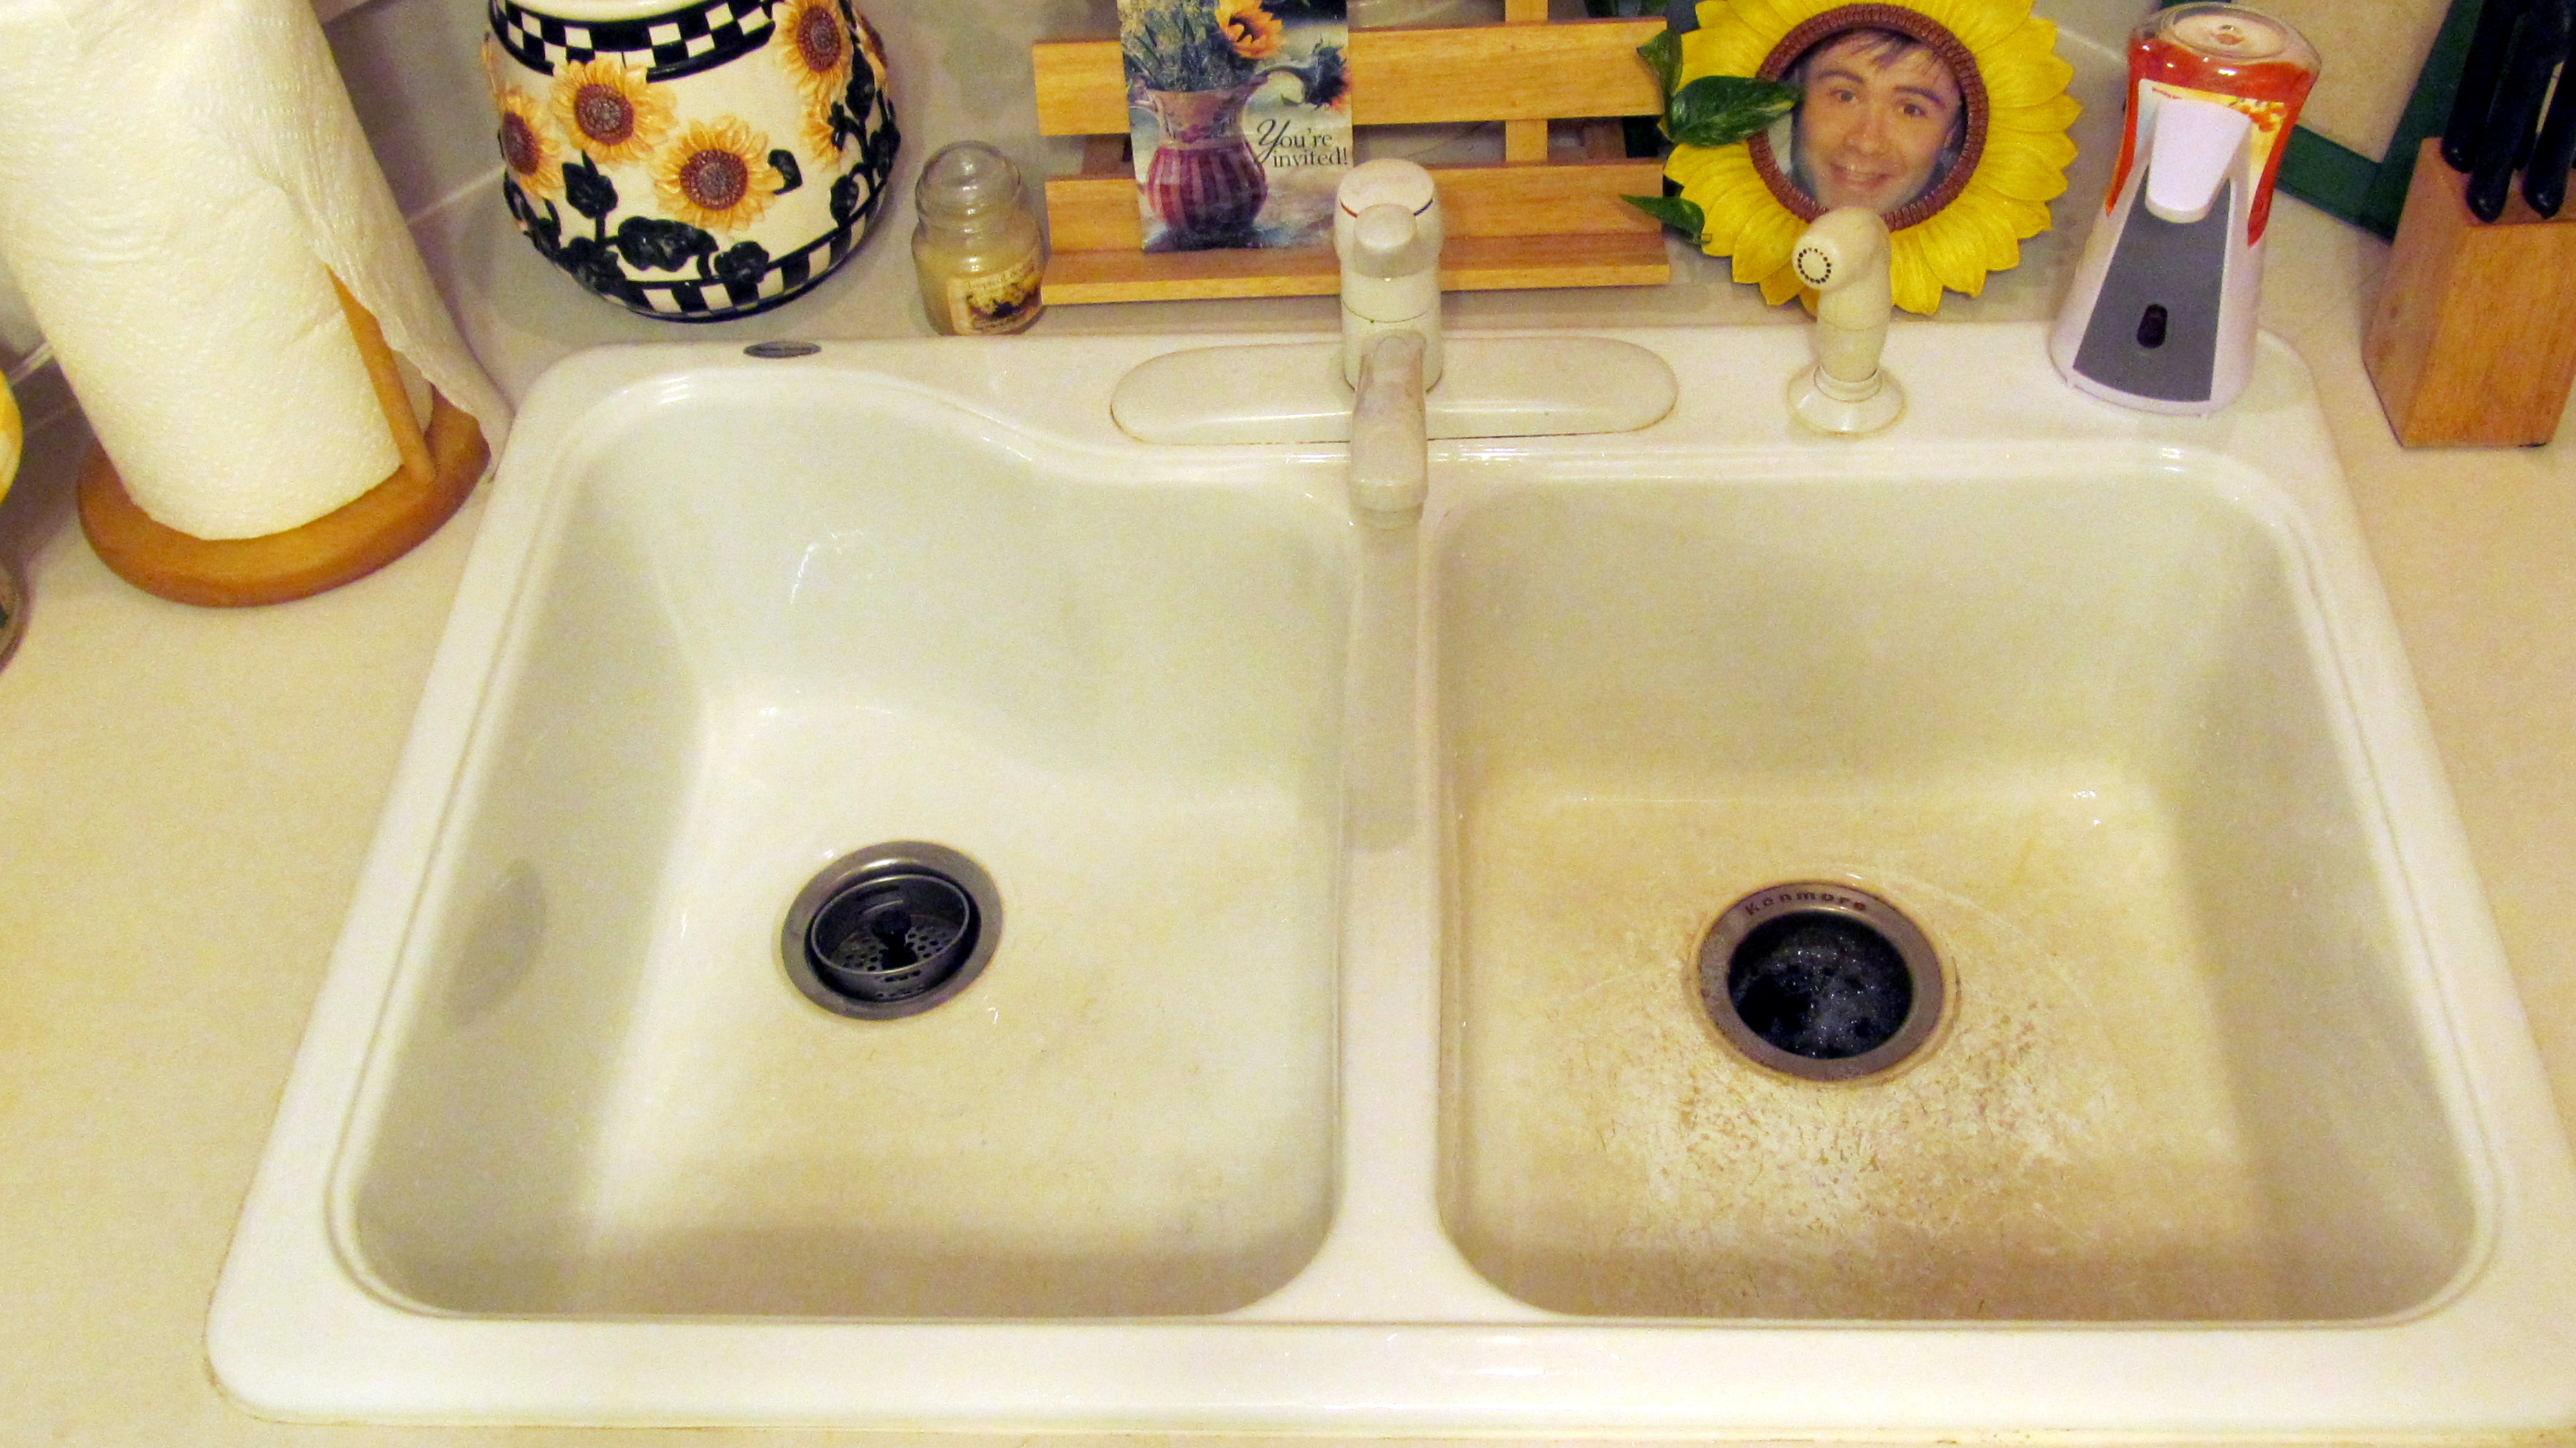
Our sink is white and shows all the dirt, grime, and metal marks from pots and pans rubbing on the white finish. Removing black marks from a white kitchen sink is easy when you know how to clean it.

Finding a Cleaning Solution

When we first moved into our home, I remember the first mark on the sink. I scrubbed with soap and water to no avail. I then tried a spray-on cleaner, like Fantastic, which only cleaned the surface and left the mark.

Without finding a quick solution, I turned to my computer to search for an answer. Surprised to find no help, I looked to the manufacturer and home improvement stores.

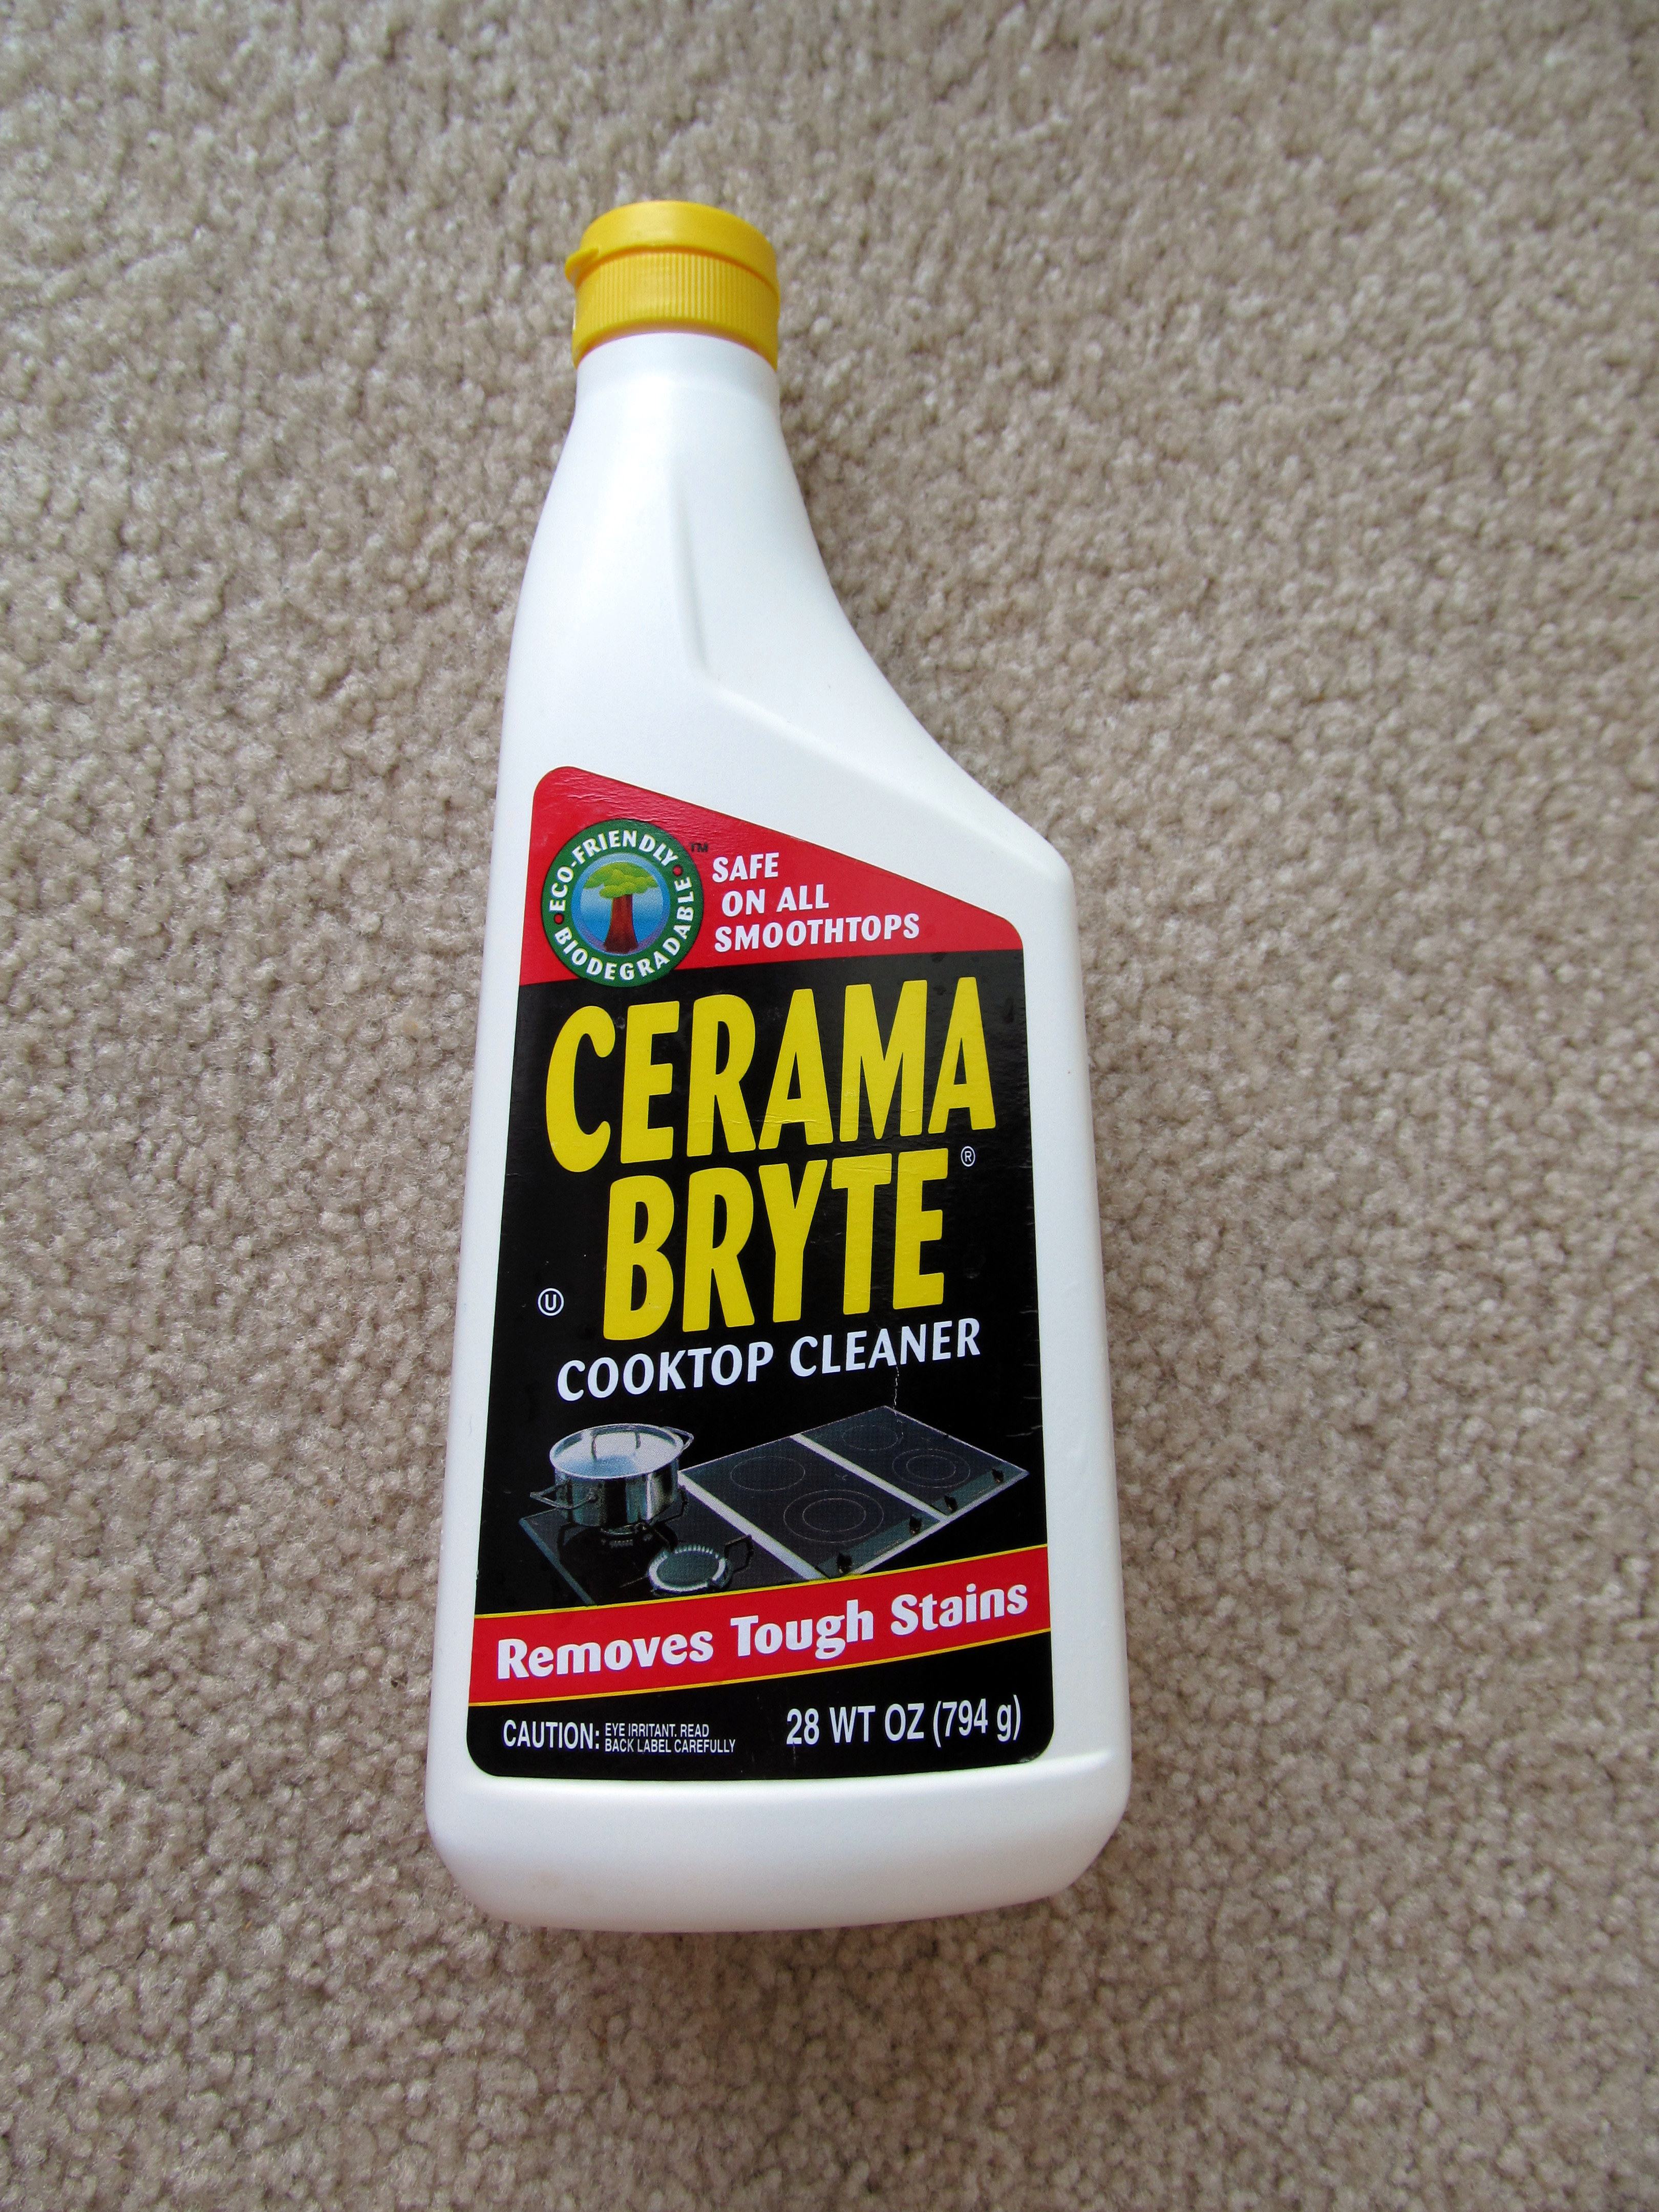
Finally, I discovered that the gentle cleaner for our smooth-top stove removes these marks. Yeah!

A few years later, our sink drain backed up, and Paul treated the clog with Drano. The Drano completely removed all those stubborn marks without any effort on my part.

Though the Drano worked, the fumes were strong, so I choose to clean with the smooth-top stove cleaner (any brand will do).

Cleaning our White Kitchen Sink

1. Drizzle the cleaner inside both sides

2. Use a no-scratch sponge to wipe the sides and bottom

3. Rinse with lukewarm water

4. Repeat for any stubborn marks


Before         and           After

Much better! My sink definitely needed to be clean. With just a few minutes, you can spring clean, too. Within 10 minutes I had my kitchen sink sparkling white. Knowing I accomplished this task today motivates me to choose another small task to improve our home while using time wisely. Happy spring cleaning!

Question: What item are you spring cleaning this week?

Filed Under: Cleaning, Household Tagged With: spring cleaning

« Previous Page
Next Page »

Welcome to Using Time Wisely!


Presenting organizational tips and tricks to save you money, energy, and time. Enjoy the journey of Using Time Wisely.

Looking for something?

Copyright © 2026 · Lifestyle Pro Theme on Genesis Framework · WordPress · Log in