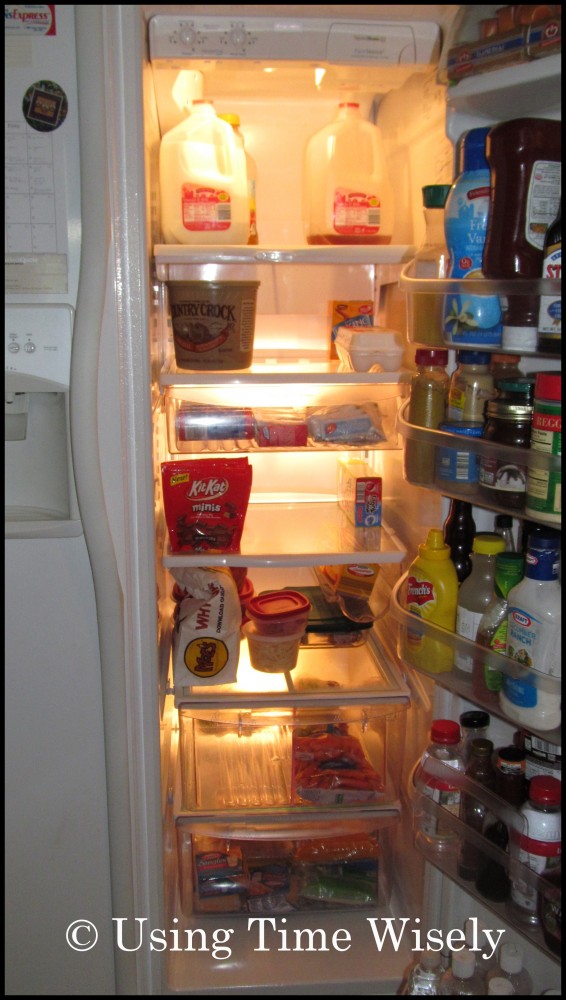
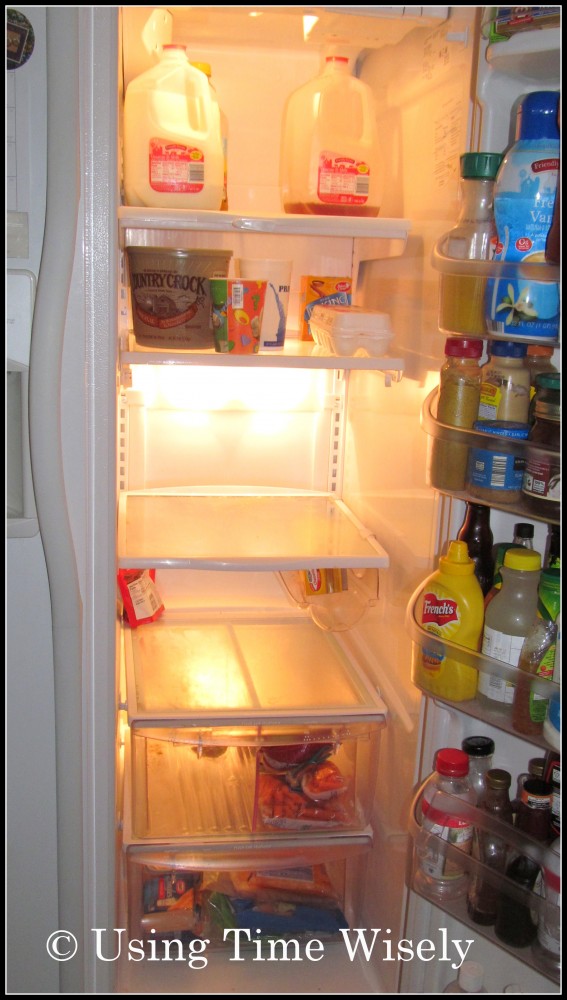
 For the most part, we clean up as we go around our house. If we see a mess, then we will stop to clean it. However, there are messes that we don’t see until something else gets moved. At that time, I might let out an, “Oh, I wonder what that was?”
One such moment occurred before I went grocery shopping. While the refrigerator was bare, I noticed a thin layer of a substance on one of our shelves. Upon further investigation, I found the mess sticky and pale in color. Ick!
Not sure how long that mess had been there, I decided to just clean the refrigerator. I find it easier to clean when the contents are minimal, so I wanted to complete this project before going to the store. My process was as follows:
1. Fill a bowl full of warm soapy water
I use a large plastic bowl and a few drops of liquid dishwashing detergent. This bowl remains in the sink, so I can go back and forth to clean each shelf.
2. Take out the items on the top shelf
As I put each item from the top shelf onto the counter, I wipe down each item. This is because I don’t want any residue on these items to dirty my clean shelf. (Visions come flooding back of spending time cleaning only to find more mess than when I started from the smudged jug of milk back on the shelf. Yep, it happened.)
3. Wipe down the shelf and the surrounding area
 In addition to wiping down the shelf with warm soapy water, I also clean the walls and the rear of the refrigerator while the space is clear.
4. Continue cleaning shelf by shelf
If the shelf is removable, then I take it out and clean the track as well. I’m amazed at what appears to be clean can be so dirty and sticky when the shelf is lifted.
5. Remove drawers
Each drawer is removed, emptied, and wiped clean. I also wipe down the track to remove any crumbs or unwanted substances. As I remove the bottom drawer, I am always amazed at the crumbs collected on the floor of our refrigerator. Yuck!
6. Clean the shelves on the door
If I have time, I also like to remove the items in each compartment on the door. Surprisingly, these areas stay clean. Wiping them down is quick and easy.
7. Pop off and dust the vent
The last item I like to clean is the vent located on the bottom of our refrigerator. On our side-by-side unit, I must open both the refrigerator and the freezer doors to pop off the vent. This bar gets dirty as it collects dust both on the inside and outside. I also dust off the hoses and other parts hidden behind the vent.
Keeping the vent clean keeps our refrigerator operating more efficiently. Without working harder to ventilate the air, the refrigerator circulates the air and keeps our food cool. I really need to clean this vent more often.
Though cleaning the refrigerator is not the highlight of my day, I like to have the project done. By cleaning as we go, this particular cleaning took less than an hour. Now, I did not clean the freezer, but the refrigerator was done.
In using time wisely, I find cleaning when our food supply in the refrigerator is low results in the best use of my time. Taking out lots of containers and items eats up my time. So, with a small amount of items to remove, I can complete the process in less time. Hope your cleaning projects are coming along.
I am enjoying the smell of our pumpkin candle as I finished a top to bottom cleaning of our living room. I am off to work on our dining room. One step at a time and one project at time is how I roll. Hopefully, I won’t find more messes that have me saying, “Oh, I wonder what that was?” Happy cleaning!
Question: What current cleaning project is on your to-do list?