 Having rented an apartment and townhouse for six years and looking at white walls, I was ready to decorate when we purchased our home almost 10 years ago. Since we were having our home built, I had a good 6 months to play with paint swatches and textures, and I did.
By the time we moved in, I had the colors chosen. Paul spent the first 2 years scraping popcorn from the ceilings and painting each room of our home. The result was a colorful home without any white walls. 😉
Content with our color choices, I am still careful not to damage the walls or add unnecessary marks or holes. In the first part of this hanging wall art series, I explained how I experiment with the wall art to find my favorite arrangement. Moving on to part two, I sketch the wall art arrangement.
Step Two: Sketch the Wall Art Arrangement
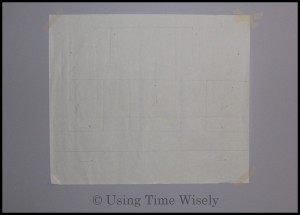
 With my wall art arranged on the floor, I take a large sheet of paper. I use a small easel pad that I received as a sample from Post It. This paper is peel ‘n stick which makes it nice to stick to the wall.
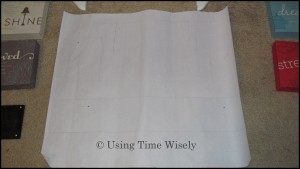
Taking the paper, I transfer the wall art onto the paper in the same arrangement. Using a pencil, I trace each item. Before removing the wall art, I poke a small hole in the paper where the nail or screw should go for easy alignment.
Removing the wall art from the paper, I have a complete sketch of the wall art arrangement. With the peel ‘n stick property of the paper, I just put up the paper and adjust on the wall until I find the perfect spot. I then stabilize the page with masking tape.
Similar to how I experiment, I leave the paper on the wall for a few days. I check to see if I will bump my head or knock anything off the wall. In this arrangement, the bottom item I am hanging is a magnet bar with clips. This piece will hold items in place which I will need to easily reach from my desk without accidentally knocking them when filing paperwork or functioning at my desk.
As this wall art serves both a decoration and a utility function, I needed to try out the arrangement before hanging it up permanently. That magnetic bar is heavy and the screws are big, so I wanted to be sure we did this arrangement correctly the first time.
After a few days, I realized that my arrangement was too high, so I readjusted my arrangement with less width and more height to meet my needs. Having the sketch on the wall helped me identify the distance before putting it on the wall and having to readjust and hide previous holes in the wall.
In using time wisely, I took my time about hanging this wall art arrangement. I experimented before sketching the arrangement on paper to display. Then I adjusted the paper as needed until I found the right height and arrangement that worked for me.
The last installment of this 3-part series will reveal the final results along with tips for hanging the wall art arrangement. As you decorate, finding the best arrangement is possible with a little patience, creativity, and planning. Happy decorating!
Question: Do you sketch your wall art arrangements before hanging them?