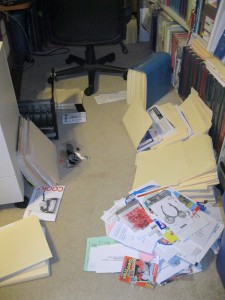
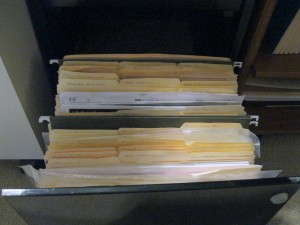
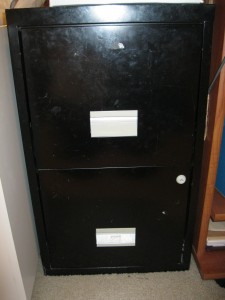
 After sorting through all the paperwork from all the new electronics, gadgets, and toys, I went to add the documents to our warranty file, housed in a two-drawer filing cabinet. When I opened the bottom drawer, I found the file stuffed and in need of purging, cleaning, and organizing. Oh, my!
Seriously . . . it was a mess.
In case you are wondering about this file, the outside is usually covered with magnets which my girls enjoy putting on and taking off while I work at my desk. See the little finger prints all over the outside. 🙂 But inside, it holds all the documentation and receipts from purchases that carry a guarantee.
In using manila file folders, I label each folder with the type of documentation, e.g., phones, tools, appliances, furniture, etc. Over time, we replace items, donate, trash, or use the items.
Periodically, this file needs purging of obsolete items to keep the folder contents current. I think my “periodically” extended a few years on this file because I found expiration dates from 2004.
I told you it was a mess.
In working on this project, I spent about 2 hours from purging to cleanup with a wonderful result.
Purging the Drawer
1. Gathered my supplies. After deciding to purge this file, I got the new documents, a pen, and manila file folders.
2. Purged each file. Removed one folder at a time and reviewed the contents. When I found paperwork for items we no longer have, I placed them in a trash pile (bottom right pile in picture below). The documents for items we are using were kept in the file.
3. Emptied the entire drawer. Taking out one file at a time, I worked through each file until the drawer was empty.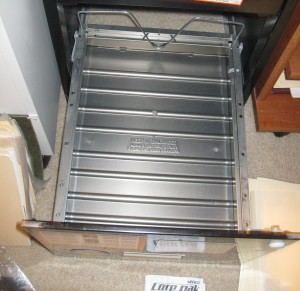
Cleaning the Drawer
1. Dusted the file drawer
2. Removed shreds of paper
3. Wiped the drawer clean
Organizing the Drawer
1. Arranged the file folders. In keeping this file divided into three sections, I placed each file folder into one of these three piles:
a. Structure of the house – windows, roof, shower units, etc.
b. Décor of the house – paint, ceiling fans, lighting, etc.
c. Products of the house – electronics, toys, jewelry, etc.
2. Combined file folder content. When I found similar products, I joined them into one category. For example, I placed the files for the lawnmower, edger, and weed whacker into one lawn equipment file folder.
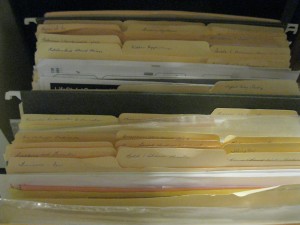
3. Labeled each file folder. In keeping it simple, I wrote the category name on the label of the file folder. As I need items from this file, I can read the labels to quickly find the folder I need.
4. Returned folders to cabinet. With the sections organized and labeled, I placed them back into the filing cabinet. I used hanging file folders to divide the file folders into sections.
Cleaning Up
1. Trashed the unused file folders
2. Placed the outdated warranty pile in the To Be Shred box
3. Put away the pen and extra file folders
Instead of an overflowing heap of papers, I can open this drawer and find the document I need – with room to spare. In using time wisely for about 2 hours, I purged, cleaned, and organized my warranty file. For me, this was time well-spent.
As you find outdated systems, like overflowing paperwork, schedule time to purge, clean, and organize. Using time wisely can get you from “Oh, My!” to “Oh, yes!” Happy organizing!
Question: Where do you keep your warranty paperwork? Please add your answer to the comments.
